The VQTECH Fax tab allows you to send and manage inbound and outbound faxes.
Please note that SMS, Inbound Fax, and Voicemail Transcription are features that must be enabled by an Administrator, and these options may not appear for all users.
Sending Faxes
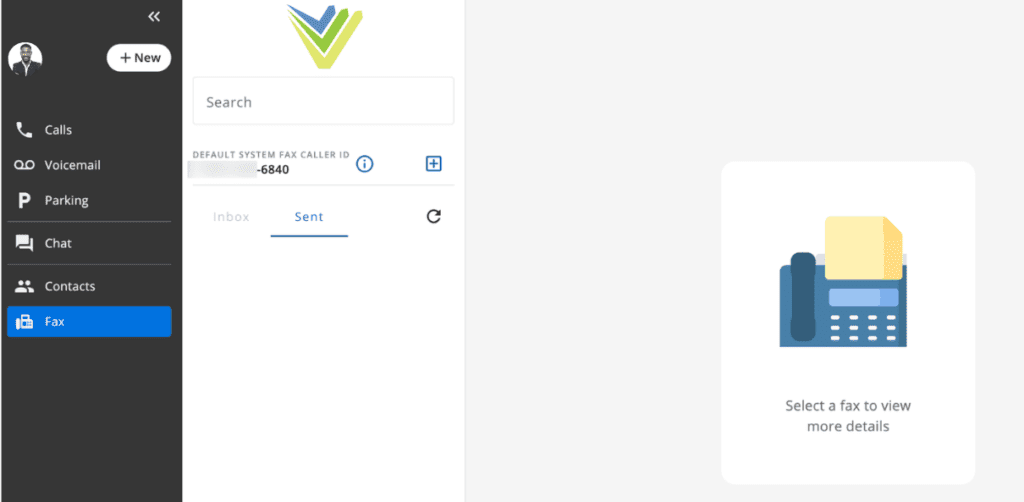
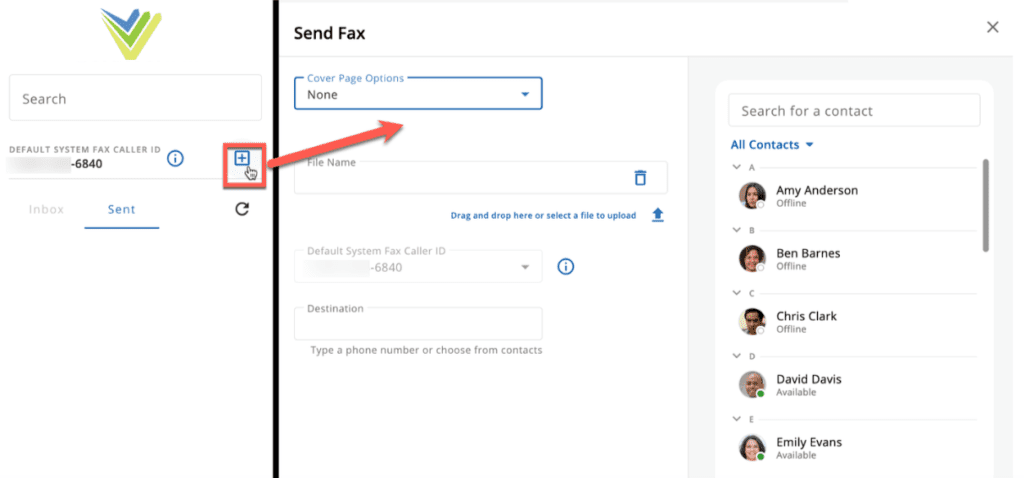
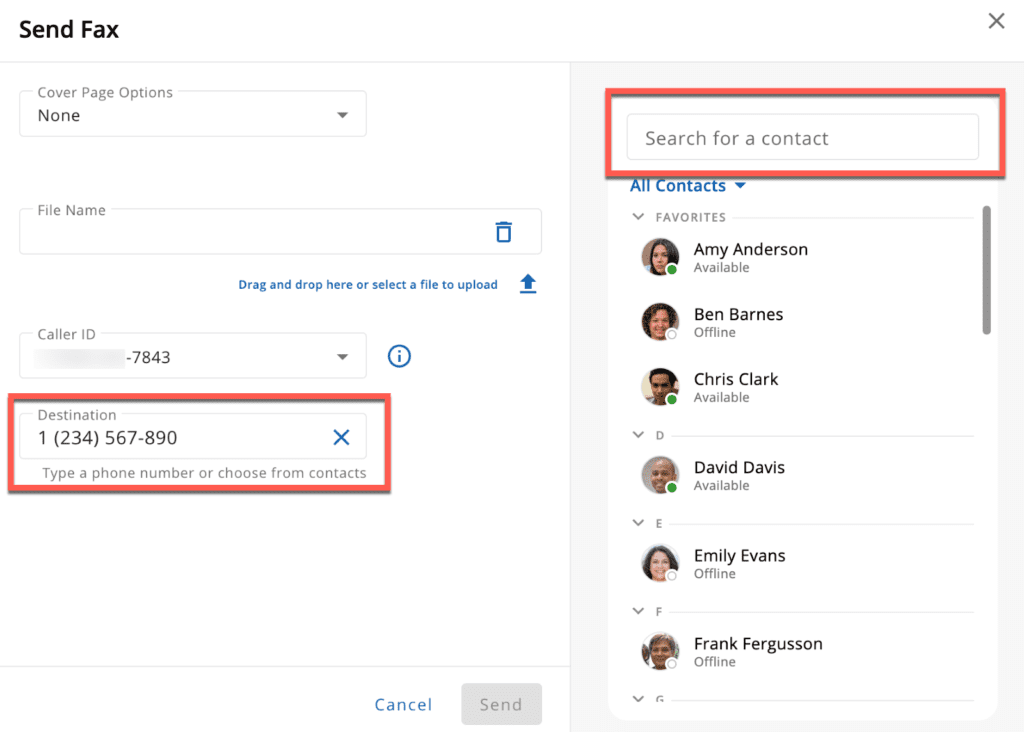
To send a new fax, click the ‘+’ button to the right of the Fax Caller ID and you will be able to modify cover page options, caller ID, file attachment(s), and the destination number.
If a user has multiple fax numbers associated with their account, they can optionally select the Outbound Fax ID by clicking into the ‘Caller ID’ field and selecting the desired number from the drop-down menu.
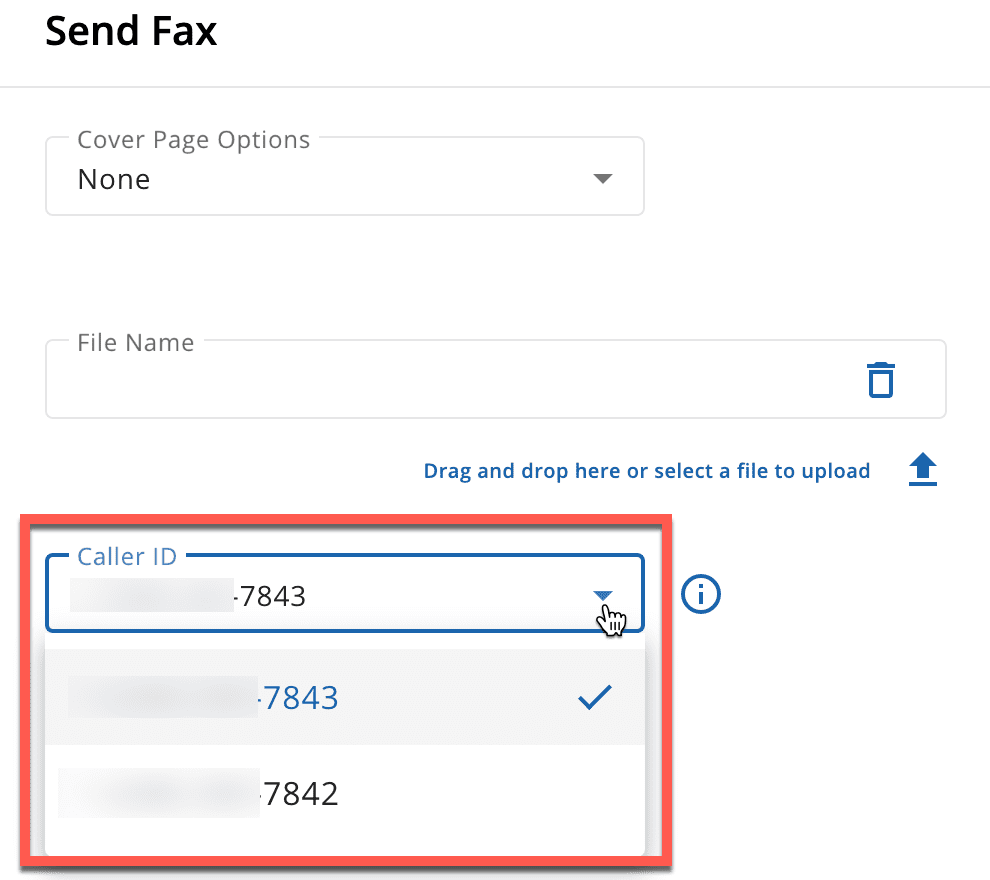
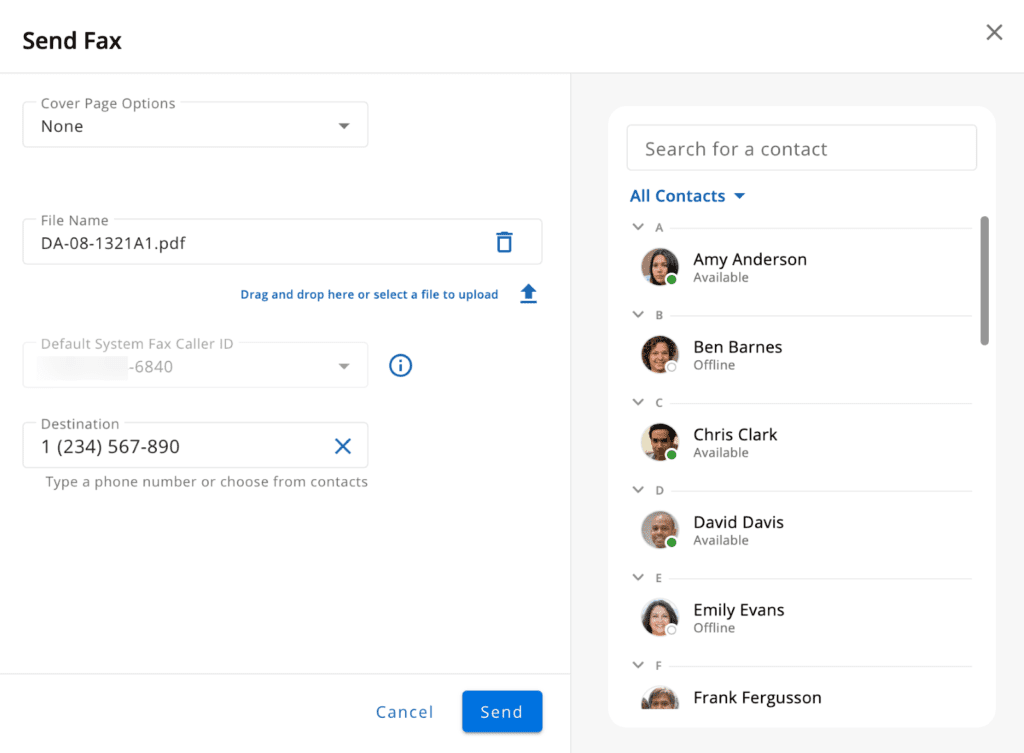
Note: If a user does not have a fax DID assigned to them, any fax they send will come from the Default System Fax Caller ID listed in the Caller ID field. If you would like to be able to receive faxes, please contact your telecom partner and request a Fax DID.
Once a user starts creating a new Fax, the Fax destination number can be configured by either typing the number into the ‘Destination’ field lower on the screen or by selecting a contact from the right side of the screen.
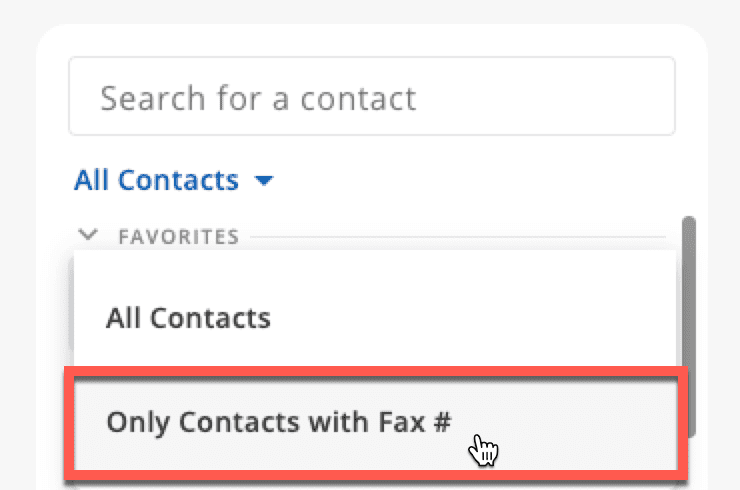
If a user wishes to send a fax to an existing VQTECH contact, we recommend using the filter for “Only Contacts with Fax #,” which can be selected by clicking the default ‘All Contacts’ option at the top of the contacts list.
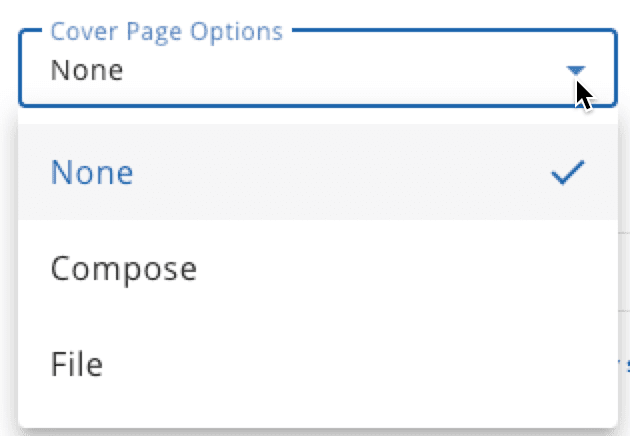
Once the Fax destination number has been applied, users can optionally add a Cover Page by either composing the text within the window or by attaching a file by selecting the drop-down menu under ‘Cover Page Options’. By default, there is no cover page included.
For send-only users (default fax DID), we strongly recommend including a cover page or having a cover page included with the main document attachment; otherwise, the recipient of the fax may not know who sent the fax.
The content of the Fax can be attached within the ‘File Name’ field, and you may either drag and drop the file or you may select from your computer’s files. Please note that attachments, including Cover Page and Main Fax attachments, cannot exceed 10 MB.
If an error occurs after a Fax is initially sent, the system will automatically retry sending the fax multiple times to attempt a successful delivery. In some cases, the retry logic can fall over into a backup method whereby fax retry attempts can be sent from a different fax number than what is listed in the ‘Caller ID’ field.
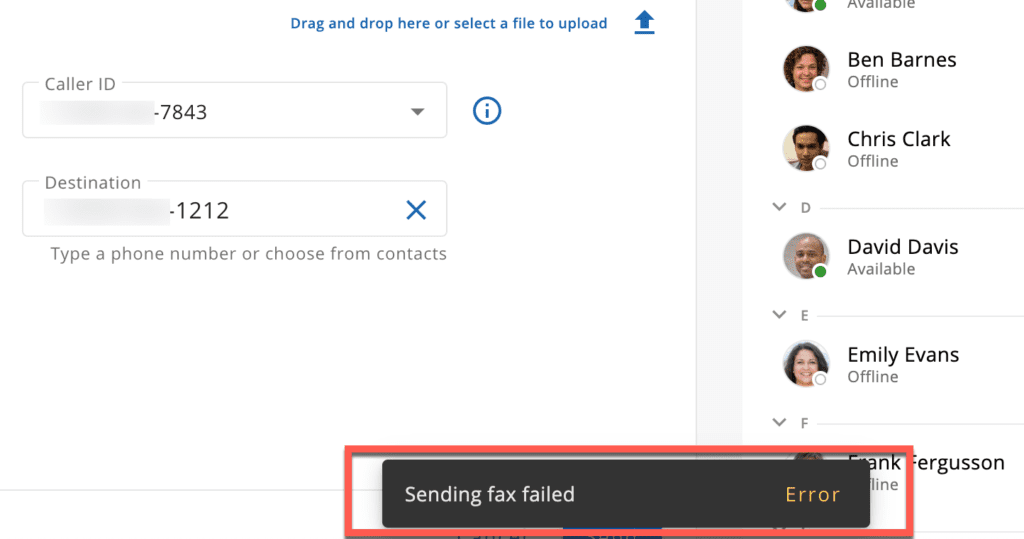
In the event there is an immediate issue in sending (often due to an invalid destination number), an error will appear at the bottom of the screen.
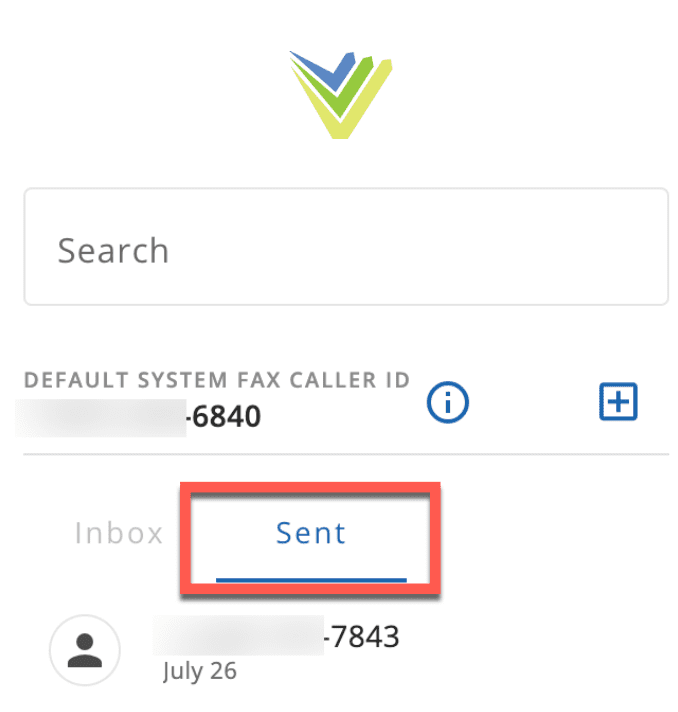
Once the Fax details have been configured, please remember to click the ‘Send’ button to send the Fax. After sending an outbound Fax, the details for this Fax can be viewed by navigating to the ‘Sent’ tab on the left side of the page.
Managing Faxes
Once a Fax is created, users can view Inbound and Outbound faxes on the left-hand side of the page by selecting ‘Inbox’ for inbound faxes and ‘Sent’ for outbound faxes.
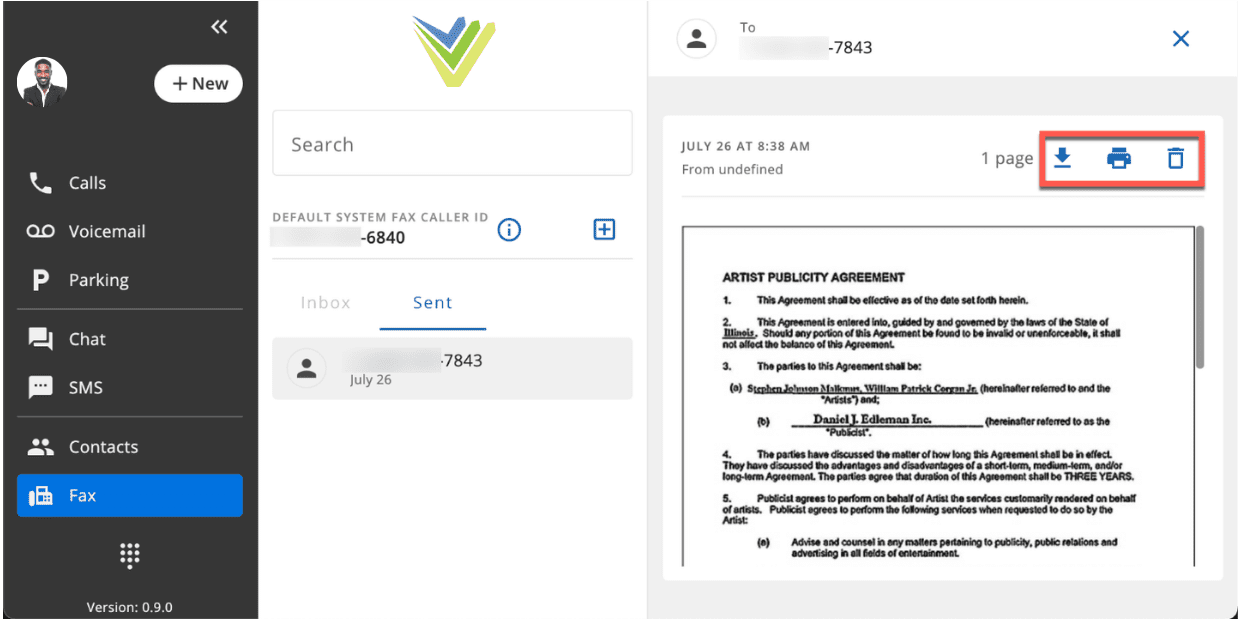
After selecting a Fax from the left-side list, users can view, download (with or without a confirmation page), print, or delete the Fax contents via the options found on the top right-hand side of the screen.
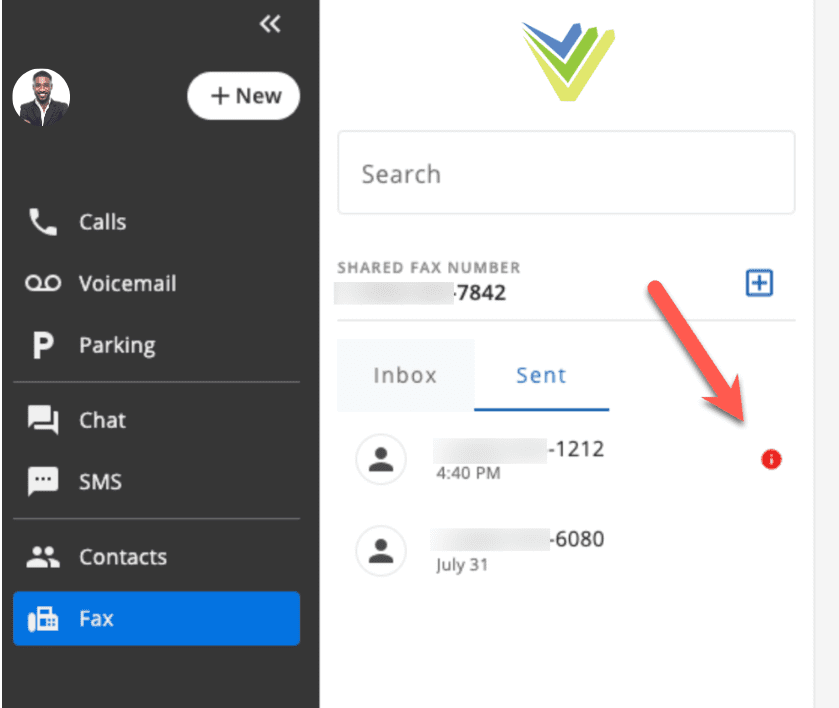
In the event that an outbound fax encounters issues after sending, the outbound fax entry will show a red ‘i’ icon to the right of the number it was sent to.
